
The beginning of works on installation of the curvilinear, multilevel ceilings I have not found. So I'll try to explain what was done prior to my arrival. Maybe not everything is understandable, but in subsequent articles will have more photos, and therefore be explained to some of the questions on installation of multi-level ceilings.
The photo shows that there was assembled the ceiling frame on the first level, it is 70 mm. - 10 mm. = 60 mm from scratch, also at the same level was built circle and sewn up. I will not go into details, how to collect the main ceiling, it was already described in previous entries, I will tell you about the order of execution up to the ceiling in the photo.
The first thing we need to mention on the ceiling of the centers of the circles and draw on the radii of these circles. Here it is important to note that when прочерчивании the outer circle we reduce the radius of 10 mm., and when прочерчивании internal, respectively increasing by 10 mm., once again explain what this is about - to прочерченным lines on the ceiling we will nail down the guiding profile, therefore plasterboard (6 mm.), who will be spinning on this profile, increase the radius of a circle to 6 mm. Plus putty will take 2 - 4 mm. In the end we get the size of the drawing.
 As чертятся circle on the ceiling?
Note in pencil the center of the circle and fight punch a hole, insert the пластмаску from the dowels into the hole, then take a guide, we find in it the factory hole, the hole measures off the desired radius length and put in the place of the tag, then the butterfly screws we bore through on the label of the second hole and a hole this fasten to the ceiling with dowels guide to the hole, insert a pencil and draw a circle.
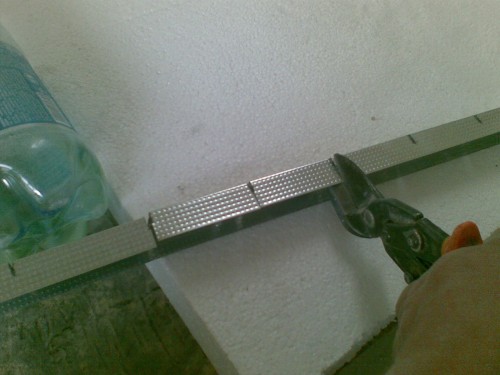 After the draw circles cut guides segments and beaten them to the ceiling on radiuses, please note that we nailed the guides are not in all circles, but only on those that are on the first level from scratch.
Then comes the build of the entire frame at the level of 60 mm from scratch, there is a true one, but not to put the brackets where there will be no ceiling on the drawing, ie brackets are placed near of the guide, nailed to the ceiling in a circle.
 After the frame is assembled, crop profile on the edge of the guide minus 5 mm., so then you can wear them on the edge of the profile of the other guide, also cut into segments, but not so, as we cut down on the ceiling, in these guides should be cut off only the side of the shelves, the principal remains intact, then putting the guide on the profile not прикручивая, cut out the strips on 60 mm plasterboard 6.5 mm it is desirable for the length (250 cm.), fasten these bands arching up to the top of the guide, then attached to the bottom of гипсокартонной bands of the guide, which we'd not прикручивая. In the end we should have been is what we saw at the top of the pictures in the beginning of the article. The exception is that the circle in the middle of sewn up. But I think, for those who read the blog, will not be difficult to sew circle. Here a question arises, how to cut an extra plasterboard on the box? Will answer this question in the next article...
Комментариев нет:
Отправить комментарий